
by Melvin Halpito | Jul 16, 2026 | Article
Mengapa Ukuran Layar Menentukan Kualitas Presentasi
Ukuran layar yang tepat membuat konten mudah dibaca, jarak pandang terasa nyaman, dan keputusan pembelian AV lebih efisien. Saat Anda memilih layar hanya dari angka diagonal, Anda bisa saja mendapatkan perangkat yang terlihat besar di katalog, tetapi kurang pas untuk layout ruangan yang sebenarnya.
Hubungan Antara Jarak Pandang Dan Keterbacaan Konten
Di ruang meeting, training room, atau ruang presentasi, jarak duduk menentukan apakah teks, grafik, dan angka dapat dibaca tanpa tegang. Jika layar terlalu kecil, peserta di belakang akan kehilangan detail penting dan cepat lelah mengikuti presentasi. Jika layar terlalu besar untuk jarak dekat, tampilan justru terasa mendominasi dan tidak nyaman dilihat terus-menerus.
Dalam praktiknya, Anda perlu melihat layar sebagai bagian dari alur visual, bukan sekadar perangkat. Saat konten banyak berisi slide teks, tabel, atau dashboard, ukuran yang cukup lebar membantu mata menangkap informasi lebih cepat. Di kantor dengan banyak rapat singkat, selisih beberapa inci bisa terasa sangat nyata pada kualitas pemahaman audiens.
Dampak Ukuran Layar Terhadap Kenyamanan Audiens
Kenyamanan audiens dipengaruhi oleh seberapa alami mata membaca layar dari posisi duduk masing-masing. Ruang yang lebih panjang biasanya memerlukan layar lebih besar agar baris kursi paling belakang tetap mendapatkan pengalaman visual yang seimbang. Untuk ruang rapat aktif, ini penting karena peserta sering berpindah posisi dan tidak selalu duduk di titik ideal.
Ukuran layar yang pas juga membantu ruangan terasa lebih tertata. Layar yang terlalu kecil membuat presentasi tampak kurang serius, sedangkan layar yang terlalu besar bisa mengganggu proporsi interior. Anda perlu menyeimbangkan kenyamanan visual dengan tampilan ruang yang tetap rapi dan profesional.
Risiko Salah Pilih Untuk Ruang Meeting Dan Training
Kesalahan memilih layar biasanya muncul saat keputusan dibuat tanpa menghitung jarak duduk, jenis konten, dan ukuran ruangan. Akibatnya, ruang meeting terlihat siap dipakai di awal, lalu muncul keluhan seperti teks sulit dibaca, audiens belakang kurang fokus, atau layar terasa tidak sebanding dengan luas ruangan. Biaya revisi seperti ini sering lebih mahal daripada perhitungan yang benar sejak awal.
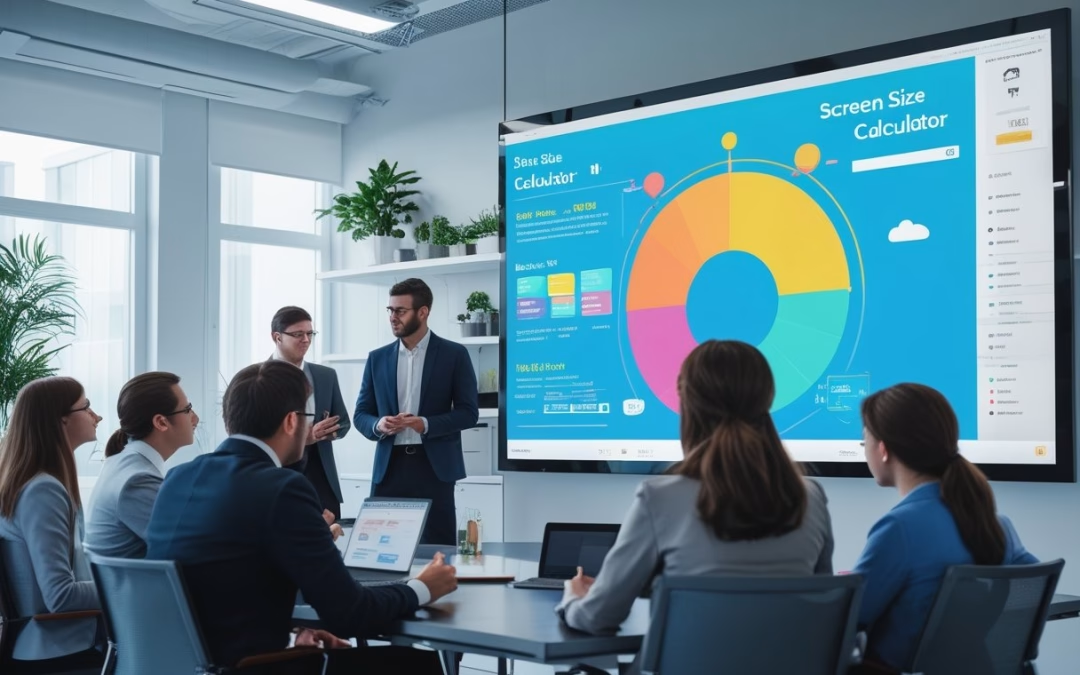
Pada ruang training, risiko ini lebih besar karena peserta duduk dalam waktu lebih lama dan perlu mengikuti banyak detail. Di sini, ukuran layar yang salah bukan hanya soal estetika, tetapi juga produktivitas sesi. MLV Teknologi memperkenalkan Screen Size Calculator untuk membantu Anda menghindari tebakan mahal seperti ini sejak tahap perencanaan.
Cara Kerja Kalkulasi Dalam Perencanaan AV

Perhitungan ukuran layar yang baik dimulai dari data dasar, lalu diterjemahkan menjadi dimensi fisik yang sesuai dengan ruang. Dari situ, Anda bisa membandingkan ukuran layar dengan kebutuhan presentasi, jenis konten, dan kondisi lapangan sebelum memutuskan pembelian.
Variabel Utama Yang Mempengaruhi Hasil Perhitungan
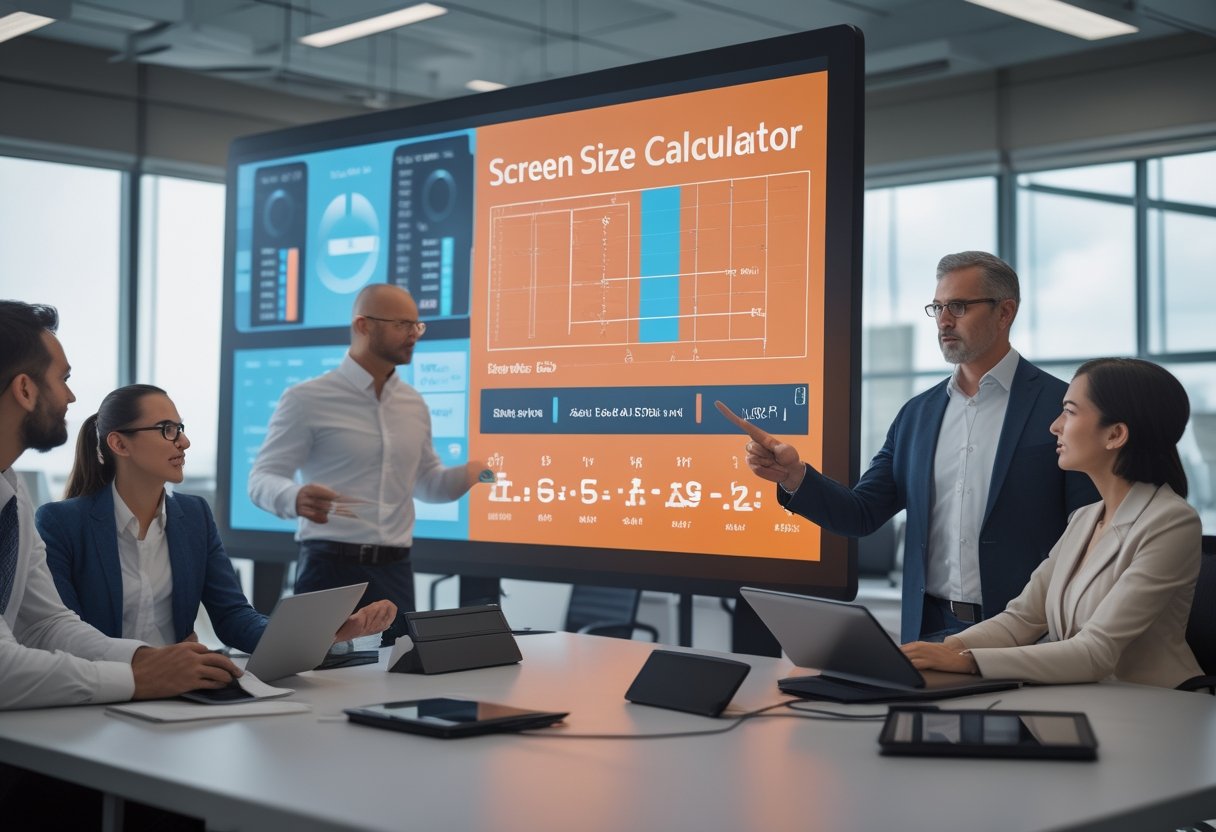
Variabel yang paling penting biasanya adalah diagonal layar, rasio aspek, lebar, tinggi, dan satuan ukur yang dipakai. Untuk ruang kantor, rasio 16:9 sering menjadi acuan karena umum dipakai pada TV, monitor, dan banyak sistem presentasi. Saat salah satu dimensi sudah diketahui, kalkulator membantu mengubahnya menjadi ukuran lain tanpa hitung manual.
Di lapangan, Anda juga perlu mempertimbangkan tinggi pemasangan, jarak kursi terdepan, dan jarak ke peserta paling belakang. Faktor-faktor ini sering menentukan apakah hasil hitung perlu disesuaikan dengan kondisi ruangan yang nyata. Itulah sebabnya kalkulasi yang bagus selalu berangkat dari kebutuhan ruang, bukan dari ukuran produk semata.
Perbedaan Kebutuhan Untuk Presentasi, Video, Dan Kolaborasi
Kebutuhan presentasi teks biasanya lebih menuntut keterbacaan dibandingkan pemutaran video. Untuk slide bisnis, tabel keuangan, atau materi training, Anda cenderung membutuhkan layar yang cukup besar agar detail kecil tetap jelas. Untuk video, ukuran masih penting, tetapi fokusnya bergeser ke pengalaman menonton yang imersif.
Pada ruang kolaborasi, layar harus mendukung dua arah komunikasi. Itu berarti ukuran harus cukup nyaman untuk berbagi dokumen, menampilkan video conference, dan memperlihatkan materi tanpa membuat peserta harus memicingkan mata. Dalam banyak proyek, keputusan terbaik bukan layar terbesar yang muat, melainkan layar yang paling seimbang untuk pola pakai harian.
Kapan Hasil Kalkulator Perlu Diverifikasi Di Lapangan
Hasil kalkulator sebaiknya diverifikasi saat ruang memiliki bentuk tidak biasa, banyak penghalang pandang, atau layout furnitur yang padat. Ini juga penting jika dinding pemasangan terbatas, plafon rendah, atau jarak duduk sangat dekat dengan layar. Angka yang sudah benar secara matematika tetap bisa kurang ideal bila kondisi fisiknya menuntut penyesuaian.
Verifikasi lapangan memberi Anda gambaran yang lebih aman sebelum pengadaan. Dalam proyek kantor, pendekatan ini membantu tim procurement dan fasilitas menghindari pengembalian barang atau revisi instalasi. Di tahap ini, konsultasi dengan penyedia AV seperti MLV Teknologi sering berguna karena instalasi yang rapi dan minim gangguan operasional sangat bergantung pada data ruang yang akurat.
Menerapkan Hasil Hitung Ke Keputusan Ruangan
Angka dari kalkulator hanya bernilai jika Anda bisa menerjemahkannya ke keputusan ruang yang konkret. Di tahap ini, Anda menyesuaikan ukuran layar dengan layout, estetika, dan kebutuhan operasional agar hasil akhirnya benar-benar siap dipakai.
Menyesuaikan Dengan Layout Furnitur Dan Titik Duduk
Layout kursi, meja, dan jarak antarbaris menentukan apakah layar terasa pas atau tidak. Jika meja konferensi terlalu panjang, layar kecil akan terlihat kurang dominan dari kursi belakang. Jika kursi bergerak fleksibel seperti pada training room, Anda perlu ruang visual yang lebih toleran terhadap perubahan posisi duduk.
Titik duduk utama sering menjadi acuan, tetapi titik duduk terburuk juga perlu dipikirkan. Dalam pengalaman proyek kantor, layar yang cukup besar untuk peserta paling belakang biasanya memberi hasil yang paling stabil. Anda jadi tidak perlu mengorbankan kenyamanan peserta depan hanya demi tampilan yang bagus di satu sudut saja.
Menyeimbangkan Estetika Ruang Dengan Fungsi Visual
Layar yang tepat harus terlihat menyatu dengan interior, bukan seperti elemen yang dipaksakan masuk. Di kantor modern, proporsi layar terhadap dinding, kabinet, dan elemen dekoratif sangat memengaruhi kesan profesional. Ukuran yang seimbang memberi tampilan bersih sekaligus tetap fungsional.
Di sini, pendekatan praktis lebih penting daripada sekadar mengejar ukuran besar. Layar yang terlalu besar bisa membuat ruangan terasa penuh, sedangkan layar yang terlalu kecil membuat area presentasi tampak kurang tegas. Keputusan yang baik biasanya berada di titik tengah yang masih nyaman dilihat dan tetap rapi secara visual.
Peran Konsultasi Dan Instalasi Dalam Hasil Akhir
Konsultasi AV membantu Anda menghubungkan hasil hitung dengan realita proyek. Dari sini, Anda bisa memeriksa posisi pemasangan, jalur kabel, sumber daya, dan kompatibilitas perangkat sebelum eksekusi dimulai. Proses ini sangat membantu saat ruang harus tetap berjalan normal selama instalasi.
Instalasi yang baik menentukan apakah layar yang sudah dipilih benar-benar bekerja sesuai tujuan. Tim yang berpengalaman biasanya bisa memasang perangkat dengan rapi, cepat, dan tanpa banyak mengganggu operasional harian. Karena itu, banyak pengambil keputusan memilih mitra yang tidak hanya menjual perangkat, tetapi juga memahami implementasi ruang meeting dari awal sampai selesai.
by Melvin Halpito | Jul 15, 2026 | Article
Dasar Perhitungan Jarak Pandang Layar
Jarak pandang yang tepat membuat konten lebih mudah dibaca, mata lebih nyaman, dan keputusan ukuran layar lebih akurat sejak awal proyek. Saat Anda merencanakan ruang meeting, training, atau display publik, angka jarak bukan sekadar detail teknis; angka itu langsung memengaruhi pengalaman audiens dan tata letak ruangan.
Mengapa Jarak Pandang Mempengaruhi Keterbacaan
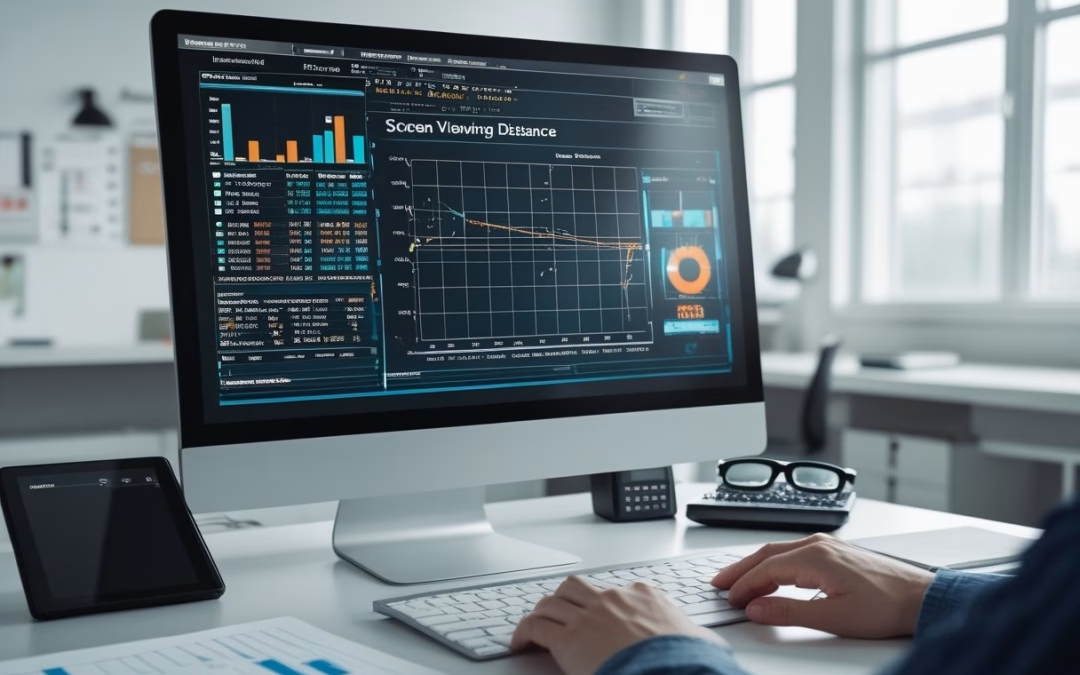
Semakin jauh audiens duduk dari layar, semakin kecil teks dan elemen visual yang terlihat jelas. Pada ruang aktif, saya sering melihat masalah muncul bukan karena layarnya kurang besar, melainkan karena posisi duduk dan ukuran font tidak disesuaikan dengan jarak baca nyata. Itu sebabnya MLV Teknologi memperkenalkan Viewing Distance Calculator sebagai alat bantu awal yang memudahkan Anda membaca kebutuhan ruang dengan lebih cepat.
Faktor Utama: Ukuran Layar, Resolusi, dan Jenis Konten
Ukuran layar menentukan seberapa besar gambar yang diterima mata dari jarak tertentu. Resolusi ikut berperan karena layar 4K atau UHD biasanya memberi detail yang lebih rapat, sehingga teks kecil tetap lebih nyaman dibaca dibanding layar dengan resolusi lebih rendah. Jenis konten juga penting: presentasi teks, dashboard data, video, dan signage publik punya kebutuhan keterbacaan yang berbeda.
Perbedaan Kebutuhan Ruang Meeting, Training, dan Display Publik
Ruang meeting biasanya menuntut jarak pandang yang cukup dekat agar peserta bisa membaca angka, agenda, dan diagram tanpa memicingkan mata. Ruang training sering butuh kompromi antara baris kursi paling depan dan paling belakang, jadi distribusi jarak audiens perlu lebih diperhatikan. Untuk display publik, perhatian utama bergeser ke keterbacaan sekilas, karena orang sering melihat sambil berjalan dan tidak selalu berhenti lama.
Cara Menggunakan Kalkulator Secara Praktis
Pemakaian kalkulator jarak pandang akan lebih berguna saat Anda masuk dengan data ruang yang sudah jelas. Hasilnya paling bernilai jika Anda membacanya sebagai panduan desain, lalu memeriksanya terhadap kondisi lapangan dan pola duduk yang nyata.
Input yang Perlu Disiapkan Sebelum Menghitung
Siapkan ukuran layar dalam inci, jenis layar, dan kebutuhan konten utama yang akan ditampilkan. Jika ruang sudah punya layout awal, catat juga perkiraan posisi kursi terjauh dan terdekat, karena ini membantu Anda menilai apakah hasil hitung masih realistis. Data dasar yang rapi membuat proses konsultasi teknis jauh lebih cepat.
Membaca Hasil untuk Menentukan Posisi Audiens
Hasil kalkulator biasanya memberi jarak maksimal yang aman untuk keterbacaan. Dari sini, Anda bisa menilai apakah kursi perlu digeser, layar perlu diperbesar, atau isi presentasi perlu diubah agar lebih ringkas. Dalam praktik proyek, hasil ini juga membantu Anda menempatkan layar pada dinding yang paling masuk akal tanpa memaksa tata letak ruangan.
Kapan Hasil Kalkulator Perlu Disesuaikan di Lapangan
Penyesuaian biasanya diperlukan saat ada pilar, pantulan cahaya, meja tetap, atau batas kabel yang membuat posisi ideal sulit diterapkan. Ruang dengan aktivitas harian tinggi juga sering butuh kompromi agar instalasi tidak mengganggu operasional. Di titik ini, validasi lapangan penting supaya angka kalkulator tetap cocok dengan kondisi riil, bukan hanya bagus di atas kertas.
Implikasi Perencanaan AV yang Lebih Tepat
Perhitungan jarak pandang yang benar membantu Anda membuat keputusan AV yang lebih rapi sejak awal. Dampaknya terasa pada pilihan display, susunan kursi, efisiensi biaya, dan ketepatan spesifikasi saat proyek berjalan.
Dampak pada Pemilihan Display dan Tata Letak Ruangan
Ketika jarak pandang sudah jelas, pemilihan ukuran display jadi lebih terarah. Anda bisa menyesuaikan ukuran layar dengan lebar ruangan, jumlah peserta, dan sudut pandang terjauh tanpa mengandalkan perkiraan kasar. Hasilnya, tata letak ruangan lebih seimbang dan layar bekerja sesuai fungsi ruang.
Mengurangi Risiko Salah Spesifikasi dan Biaya Ulang
Salah spesifikasi sering muncul saat ukuran layar dipilih terlalu kecil untuk jarak duduk terjauh, atau terlalu besar sehingga tidak proporsional dengan ruang. Kesalahan seperti ini bisa memicu revisi pemasangan, perubahan bracket, bahkan pengadaan ulang. Kalkulator jarak pandang membantu Anda mengurangi risiko itu sejak tahap perencanaan, sehingga anggaran lebih terkendali.
Peran Konsultasi Teknis dalam Validasi Hasil Perhitungan
Angka dari kalkulator tetap perlu dibaca bersama konteks ruang, terutama untuk proyek kantor yang aktif dan tidak boleh terganggu saat instalasi. Konsultasi teknis membantu Anda memeriksa apakah hasil perhitungan cocok dengan arah pandang, sumber cahaya, dan kebiasaan penggunaan ruang. Dalam proyek AV yang matang, alat hitung dan penilaian lapangan berjalan beriringan agar hasil akhir lebih presisi dan minim revisi.
by Melvin Halpito | Jul 14, 2026 | Article
Why Professional Environments Shape Perception
When your meeting room works smoothly, your office feels more credible, more prepared, and easier to trust. That impression starts the moment a client enters reception or joins a meeting, because people notice whether the space feels organized and ready for business.
First Impressions In Meeting And Reception Spaces
A clear display, clean audio, and a tidy room layout signal that you pay attention to detail. In a reception area, a screen that shows the right information at the right time can make your operation feel structured and responsive. In a meeting room, even simple things like visible cables, awkward speaker placement, or a slow start can weaken confidence before the discussion begins.
How Technology Signals Reliability And Readiness
Well-planned AV tells visitors that your team is prepared to communicate without friction. When presentations start on time, sound is clear, and video calls connect smoothly, you create a sense of control that supports your brand. That reliability matters in client-facing offices, where every meeting is also a test of your execution.
The Link Between Workplace Experience And Brand Credibility
Your workplace experience becomes part of your brand story. If your room supports focused discussion, hybrid meetings, and fast switching between sources, clients see a business that invests in quality and follows through. The same is true internally: teams work with more confidence when the tools around them are dependable and easy to use.
Operational Quality That Builds Confidence
Strong AV performance is not just about equipment quality. It is also about how consistently the system works during real meetings, how cleanly it is installed, and how quickly support can respond when something needs attention.
Consistent Audio And Visual Performance In Client Interactions
Clients notice when they can hear every speaker clearly and follow visuals without strain. Poor mic pickup, echo, or a dim display can distract from the message and make the room feel less professional. A stable AV setup helps your team present with more confidence and keeps the focus on the discussion, not the technology.
Low-Disruption Installation And Business Continuity
Installation work should fit around your business, not interrupt it. In active offices, careful planning, neat cabling, and disciplined site work matter because they reduce noise, clutter, and downtime. That is one reason businesses value partners like MLV Teknologi in South Jakarta, where customers note responsive coordination and installation that avoids disrupting daily operations.
Responsive Support As Part Of Trust Building
Trust grows when problems are handled quickly and communication stays clear. If a display issue or audio fault can be addressed without long delays, your office avoids awkward meeting disruptions and repeated complaints from staff or visitors. Support quality is part of the service experience, and clients often remember that as much as the hardware itself.
Strategic Priorities For Modern AV Planning
Good AV planning starts with the way your rooms are used, not with a product list. The strongest setups balance function, appearance, and room for growth so the system keeps supporting your business as needs change.
Matching AV Systems To Room Use And Business Goals
A boardroom, training room, huddle space, and reception area each need a different AV approach. The right design supports the way your team meets, presents, and collaborates, while also matching your client experience goals. A system built for real use will feel easier to adopt and more valuable over time.
Balancing Aesthetics Functionality And Scalability
A neat installation matters because it shapes how polished your office feels. At the same time, the system needs to be practical, with equipment placed for easy use and future expansion in mind. Modular design can help your office add features later without forcing a full rebuild, which is useful for growing teams and multi-room environments.
Choosing An AV Partner With Proven Local Execution
A capable AV partner should show more than product knowledge. You want careful installation, clear communication, and a track record of finishing work neatly and on time in real office settings. In Indonesia, that local execution matters, because the best results come from teams that understand both the space and the pace of business.
by Melvin Halpito | Jul 13, 2026 | Article
Peran Integrator Audio Visual Dalam Kebutuhan Bisnis Modern
Jika ruang meeting Anda sering memakan waktu karena setup teknis, integrator Audio Visual yang tepat bisa mengubah ruang itu dari sekadar ruangan menjadi alat kerja yang benar-benar produktif.
Di banyak kantor, masalahnya bukan kurang perangkat, melainkan sistem yang tidak menyatu. Anda bisa punya layar bagus, speaker mumpuni, dan kamera konferensi, tetapi kalau semuanya berdiri sendiri, rapat tetap terasa lambat dan melelahkan. Integrator audio visual yang baik menyatukan perangkat, kontrol, kabel, tata ruang, dan alur pakai agar ruang mudah digunakan setiap hari.
\
Fungsi Integrator Dibanding Sekadar Pemasok Perangkat
Pemasok perangkat biasanya fokus pada barang yang dibeli. Integrator melihat gambaran yang lebih besar: ukuran ruangan, posisi duduk, arah pandang, kualitas suara, dan cara tim Anda memakai ruang itu. Perbedaan ini penting karena hasil akhir yang Anda butuhkan adalah ruang yang berjalan lancar, bukan daftar perangkat yang panjang.
Dalam proyek kantor, saya melihat banyak kegagalan terjadi saat pembelian dilakukan tanpa desain sistem yang jelas. Ruang akhirnya sulit dipakai, pengguna bingung, dan tim internal harus sering memanggil teknisi. Integrator yang matang menghindari masalah itu sejak awal dengan merancang sistem yang cocok untuk kebutuhan rapat formal, diskusi tim, dan kerja hibrid.
\
Dampak Sistem AV Terhadap Kolaborasi Dan Produktivitas
Sistem AV yang rapi membuat rapat dimulai lebih cepat dan keputusan bisa diambil tanpa jeda teknis yang mengganggu. Anda tidak perlu bergantung pada satu orang yang paham semua perangkat untuk menyalakan ruang atau menghubungkan laptop. Itu langsung berdampak pada efisiensi kerja harian.
Di ruang meeting modern, kenyamanan pengguna sangat menentukan apakah sistem benar-benar dipakai. Saat audio jelas, tampilan stabil, dan kontrol sederhana, kolaborasi terasa lebih alami. Perusahaan juga lebih mudah menjaga konsistensi pengalaman di berbagai ruang, dari meeting room kecil sampai ruang konferensi yang lebih besar.
\
Kriteria Menilai Kualitas Mitra AV Secara Objektif
Saat menilai mitra AV, Anda perlu melihat bukti kerja, bukan hanya materi presentasi. Tiga hal yang paling sering menentukan hasil proyek adalah kualitas konsultasi, kerapian instalasi, dan cara tim berkoordinasi selama implementasi.
Evaluasi yang baik akan memperlihatkan apakah vendor benar-benar paham kebutuhan ruang Anda atau hanya menawarkan paket standar. Dari pengalaman lapangan, mitra yang kuat biasanya sejak awal bisa membaca risiko proyek dan menjelaskan pilihan solusi dengan bahasa yang jelas.
\
Kemampuan Konsultasi Dan Pemetaan Kebutuhan Ruang
Konsultasi yang baik dimulai dari pertanyaan yang tepat. Anda seharusnya ditanya soal pola rapat, jumlah pengguna, jenis perangkat yang sering dipakai, dan keterbatasan ruangan. Dari sana, integrator bisa memetakan kebutuhan secara realistis, bukan sekadar menempelkan teknologi terbaru.
Pemetaan ruang yang serius juga mempertimbangkan alur kabel, pencahayaan, akustik, dan kebiasaan pengguna. Ini penting karena ruang meeting yang bagus di atas kertas bisa gagal saat dipakai jika tata letaknya tidak cocok. Mitra yang teliti biasanya berani memberi masukan teknis yang relevan, bukan hanya mengikuti permintaan awal tanpa kritik.
\
Standar Instalasi Yang Rapi, Presisi, Dan Minim Gangguan
Instalasi yang baik terlihat dari hasil yang rapi, presisi, dan mudah dirawat. Kabel tertata, perangkat terpasang stabil, dan panel kontrol mudah dijangkau. Anda juga perlu menilai apakah tim instalasi bekerja dengan disiplin di lingkungan kantor aktif.
Salah satu tanda integrator yang matang adalah kemampuannya bekerja tanpa mengganggu operasional harian. Untuk kantor yang tetap berjalan selama proyek berlangsung, ini sangat penting. MLV Teknologi misalnya, sering mendapat ulasan soal hasil instalasi yang rapi dan tim yang bisa bekerja dengan minim gangguan, yang menjadi sinyal bagus bagi proyek ruang meeting aktif.
\
Responsivitas Tim Dan Kelancaran Koordinasi Proyek
Respons cepat sering kali lebih penting daripada janji besar. Dalam proyek AV, perubahan kecil di lapangan bisa memengaruhi jadwal, layout, dan hasil akhir. Karena itu, Anda perlu mitra yang mudah dihubungi dan cepat memberi solusi saat ada penyesuaian.
Koordinasi yang lancar membuat proyek tetap terkendali dari tahap survei sampai serah terima. Tim yang responsif biasanya juga lebih enak diajak berdiskusi saat ada revisi desain atau penyesuaian perangkat. Reputasi MLV Teknologi yang mendapat rating 4.9 di Google Maps juga menunjukkan bahwa aspek komunikasi dan eksekusi dipandang positif oleh banyak pelanggan.
\
Pertimbangan Praktis Saat Memilih Partner Implementasi
Pilihan partner implementasi sebaiknya dilihat dari cakupan layanan, bukti reputasi, dan kedekatan operasional dengan lokasi proyek Anda. Untuk kantor di Jakarta dan area sekitarnya, faktor kecepatan respon dan kemampuan dukungan lapangan sering punya dampak langsung pada kelancaran kerja.
Anda juga perlu menilai apakah vendor hanya menjual perangkat atau benar-benar mendampingi proses sampai sistem siap dipakai. Dalam praktiknya, perbedaan ini sangat terasa saat proyek memasuki fase instalasi, pengujian, dan after-sales.
\
Cakupan Layanan Dari Pengadaan Hingga Dukungan Lapangan
Partner yang kuat biasanya tidak berhenti di pengadaan perangkat. Mereka juga membantu konsultasi, instalasi, integrasi, dan dukungan setelah sistem berjalan. Model kerja seperti ini lebih aman karena Anda tidak perlu mengelola banyak pihak secara terpisah.
Untuk proyek meeting room, layanan end-to-end penting agar masalah teknis bisa ditangani cepat. MLV Teknologi, misalnya, dikenal menyediakan pengadaan perangkat audio visual, konsultasi, rental, pekerjaan interior fitting, hingga suplai sistem keamanan. Cakupan seperti ini berguna saat Anda ingin implementasi yang lebih tertib dan tidak tercerai-berai.
\
Indikator Kepercayaan Dari Reputasi Dan Ulasan Pelanggan
Reputasi bukan pengganti evaluasi teknis, tetapi tetap jadi indikator penting. Ulasan pelanggan sering memberi gambaran nyata tentang cara tim bekerja, kualitas hasil, dan respons setelah proyek selesai. Anda sebaiknya memperhatikan pola komentar, bukan hanya rating angka.
Jika banyak ulasan menyebut instalasi rapi, komunikasi cepat, dan hasil memuaskan, itu menandakan konsistensi layanan. Dalam kasus MLV Teknologi, rating 4.9 dari 19 ulasan di Google Maps memberi sinyal bahwa pengalaman pelanggan cukup kuat, terutama pada sisi profesionalisme dan kecepatan kerja. Itu layak dijadikan bahan pertimbangan awal sebelum Anda masuk ke diskusi teknis.
\
Nilai Mitra Lokal Untuk Proyek Meeting Room Di Jakarta Dan Sekitarnya
Mitra lokal sering memberi keuntungan praktis yang terasa langsung di lapangan. Mereka lebih cepat saat survei, lebih mudah dihubungi saat ada revisi, dan lebih paham ritme kerja kantor di Jakarta. Untuk proyek meeting room, kecepatan seperti ini sering lebih bernilai daripada presentasi yang terlalu rumit.
Lokasi MLV Teknologi di South Jakarta juga relevan untuk organisasi yang butuh dukungan implementasi di area Jakarta dan sekitarnya. Saat Anda mengevaluasi partner, pertimbangkan juga kemudahan koordinasi, kesiapan datang ke lokasi, dan kemampuan menjaga kontinuitas support setelah instalasi selesai. Dalam proyek AV, kedekatan operasional sering menjadi pembeda yang nyata.
by Melvin Halpito | Jul 12, 2026 | Article
Most hybrid meeting problems are not technology problems alone, they are leadership and operating-model problems. If you want Hybrid Meeting Solutions: Ensuring Equal Experience for Onsite and Remote Participants, you need to design for participation equity, not just connection quality. That means you make room setup, facilitation norms, decision rules, and accountability work together so location does not determine influence.
The standard to use is simple: every participant should be able to see, hear, contribute, and shape the outcome with the same ease, whether they are in the room or joining remotely. If that is not true, your meeting is already creating proximity bias, even if the agenda looks balanced on paper.
That gap shows up in small ways first, then in decision quality, meeting fatigue, and uneven participation across teams. Leaders who treat hybrid meetings as an organizational design issue can set a higher bar and make that bar repeatable across offices, functions, and time zones.
Principles Of Participation Equity
Equal experience is not the same as identical experience. You are aiming for equivalent access to information, equal opportunity to speak, and a fair path to influence the decision, regardless of where someone sits.
Defining What An Equal Experience Actually Means
An equal experience means remote participants are not waiting for a gap in room conversation, while onsite participants are not gaining extra influence through side comments or shared physical artifacts. You should be able to answer three questions with confidence: can everyone hear clearly, can everyone see the same working materials, and can everyone get airtime without competing against the room?
A useful test is whether a remote attendee can enter the meeting cold and still contribute at the same level as an onsite attendee. If that answer depends on who they know in the room, your meeting is not equitable yet.
Common Failure Patterns In Mixed-Presence Meetings
The most common failure is not bad intent, it is drift. The room starts talking naturally, someone points to a slide or whiteboard, and remote participants become listeners instead of contributors. Another pattern is overreliance on a single camera and a weak microphone, which makes it harder for remote people to follow side conversations or timing cues.
You can also see proximity bias in participation data. In many hybrid settings, remote participants speak less often than onsite participants because the meeting rhythm favors the room. When that happens repeatedly, people disengage, decisions narrow, and the meeting model starts to train the wrong behavior.
Operational Design For Better Outcomes
Better outcomes come from intentional design, not heroic facilitation. You need technology that supports the same workflow for everyone, plus meeting rules that make participation visible and enforceable.
Technology And Room Setup Decisions
Start with the room, because room geometry shapes behavior. Place cameras so remote participants can see faces, not just the top of a table, and use microphones that capture voices evenly across the room. If people in the room must crowd around a single laptop speaker, the setup is already undermining equity.
Require everyone in the room to join the meeting on individual devices when practical. That keeps chat, documents, polls, and hand-raise tools available to all participants in the same way. It also reduces the hidden divide between analog participation in the room and digital participation online.
Facilitation Norms And Accountability Measures
Equitable meetings need a facilitator who manages turn-taking, interruption control, and visible contribution tracking. Use round-robin input at decision points, start structured input with remote participants, and pause for silent written contributions before open discussion. Those moves sound formal at first, yet they quickly create a more disciplined room.
Assign a remote participant advocate for recurring meetings, and rotate that role so the team learns what the remote experience feels like. Track speaking balance in a simple way, even if that means a facilitator keeps a tally. When participation patterns are visible, you can hold the meeting model accountable instead of blaming individual behavior.


Recent Comments